Friday, May 25, 2012
Father's Day Plaque
So excited about our fathers day craft we completed today! Again, as I always say...Mod Podge Rocks! The little pictures are of B holding the letters DAD. I found out the hard way how difficult it is to get a 19 month old to hold her hand flat to make nice handprints. We had a couple of paint-overs and do-overs, but she absolutely LOVED it! Check out her helping paint the clear coat on! What a crafter just like mama!!
Foyer art
I have had this in my foyer or a few months, but I've been wanting to share it with my readers. I found this cool wall decal for $11 at Ross department store. I have gone crazy about birds this year and had to have this. I decided that I really didn't want to stick it flat to the wall, so I went to Home Depot and had them cut a cheap plywood board into 11 in by 11 in squares, the size of these decal tiles. I simply stuck the decals to the plywood squares and hung up my new art with Command velcro picture hangers. It turned out much better than expected and added a great "outdoor" feel to my foyer. Looks much nicer than if stuck flat to the wall in my opinion. I have a family heirloom park bench that I will be adding to this space soon. Can't wait to sit in my foyer on my park bench and watch the birds!
Saturday, May 12, 2012
Mother's Day Silhouettes
Wanted to share my latest project for Mother's Day. B's 18 month silhouette! Grandmama, Nana and Maw Maw loved it! This is a painted wooden plaque from Micheal's with modpodged scrapbook paper. The silhouette was traced from an actual picture I had taken of B recently. Tadaaa! Easy craft and a big hit for the mamas and grandmamas!
Saturday, April 21, 2012
Coffee Filter Wreath
I have been diligently working for two straight days on this wreath. Finally finished! I have to say, it turned out beautiful! Be forewarned...this is a time consuming and meticulous project, but well worth the results. I borrowed the idea from Lovely Crafty Home. Thanks for a great tutorial!
So I started by coloring the coffee filters in old empty ice cream buckets of different diluted paint colors, most of which were a mixture of different colors till I got what I liked. I used about a 1/2 inch of water and mixed in my paint colors so that I could color several filters at a time. The cream colored filters were colored with brewed tea. I then spread my coffee filters out on an old blanket to dry. Lovely Crafty Home hung hers on a line to dry and I think that would have probably worked better for me if I had a place to do it.
I used a foam wreath.
I used floral pins to attach the flowers.
So I started by coloring the coffee filters in old empty ice cream buckets of different diluted paint colors, most of which were a mixture of different colors till I got what I liked. I used about a 1/2 inch of water and mixed in my paint colors so that I could color several filters at a time. The cream colored filters were colored with brewed tea. I then spread my coffee filters out on an old blanket to dry. Lovely Crafty Home hung hers on a line to dry and I think that would have probably worked better for me if I had a place to do it.
I used a foam wreath.
I used floral pins to attach the flowers.
Here is a coffee filter flower in the making. Get the full flower tutorial here.
Here is the finished product! What a beauty!
Meet the Family
Hi! These are some pretty recent pics of my family on one of our silly shenanigans. So let me introduce you!
Grandmama and Paw Paw: (Do they not look too young to be grandparents?!)
Me and my very handsome, single (ladies;), and hilarious brother:
B and her favorite uncle. Aww Wee!
B being silly with Paw Paw.
And B just being precious B!
That's all for now!
Mod Podge Rocks!
Ok, so here's a little more of my fun-ness over the past few months. Mod Podge truly rocks! Can't believe I've never used it before now!
Here are a few things I've podged lately:
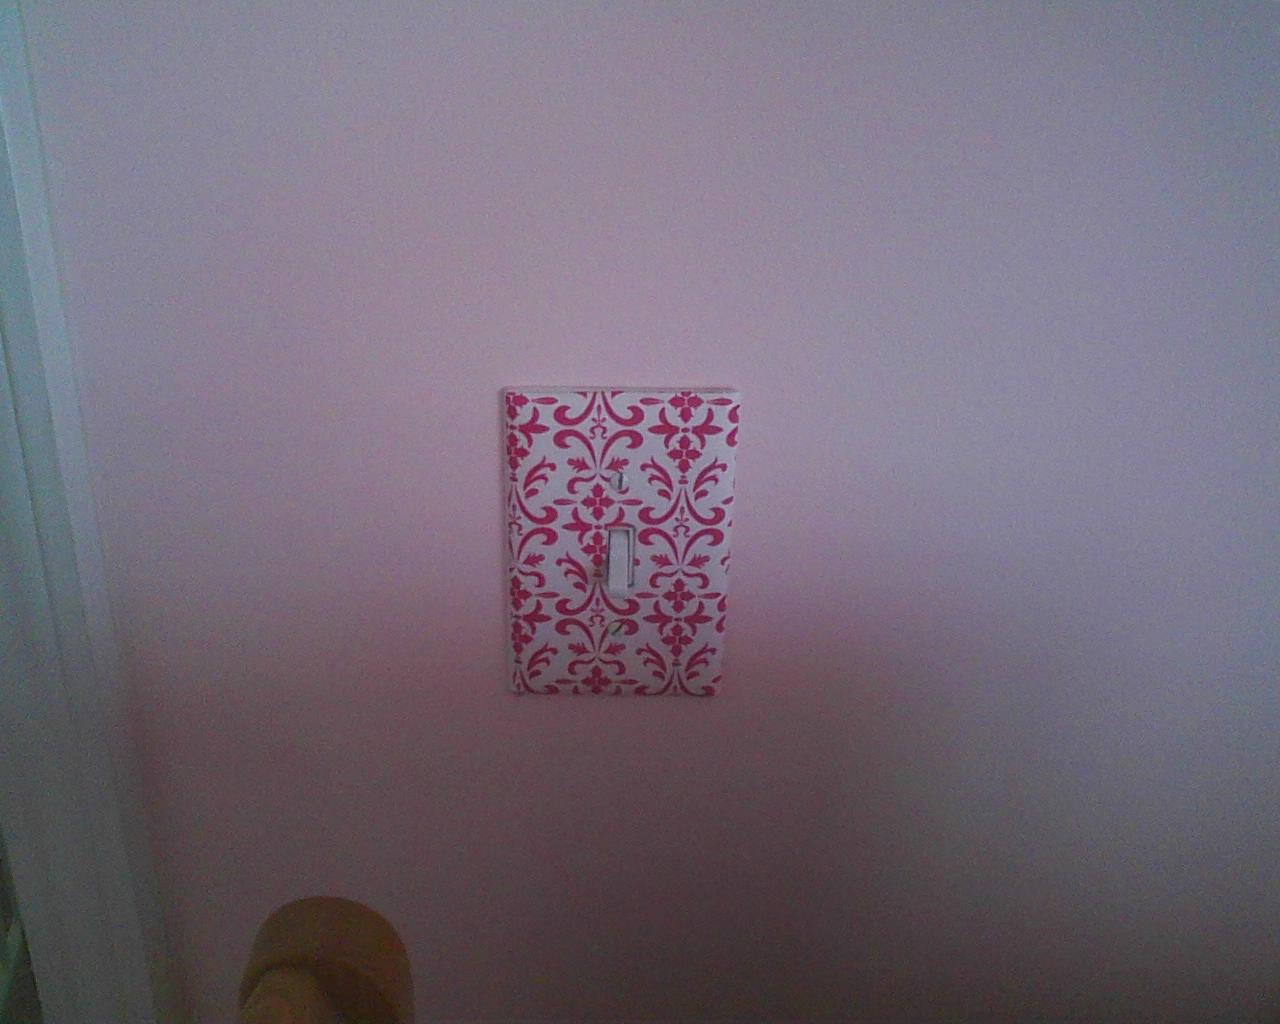
Light Switches:
Here are a few things I've podged lately:
Light Switches:
Coasters:
(made from wall tiles)
Oatmeal container to headband holder:
Picture frames:
A little birdy:
A laundry sign:
Wow! I've been Mod Podge crazy! But it is a fast, simple, and fun way to decorate almost anything!
Hanging Book Sling
So, I only get spurts of time for things like this, due to a certain toddler who rightly demands my absolute attention at all times! So, most of my blog posts will probably come out all in one day like this to catch up on all things I've been wanting to post but have been too busy to do so. I really wanted to use this blog to help me keep up with my Pinterest projects and to share them with others to prove that fun crafts can be done by those of us common folk with schedules and lives and less than perfect creative ability. I have become absolutely addicted to Pinterest since I found it. I think because I have needed some stress relief and creating really makes me feel good right now! Most of what you see here that I have created will not be original. This is not a "how-to" or tutorial blog. These projects are direct copies of others found on Pinterest. I will try to link up the tutorials for each project if they are available to give credit where credit is due.
So here's one of our latest favorites. The Hanging Book Display. We love it because it can be put at toddler level and allows kids to see the front of books so they recognize them easier. This makes more sense as a book display for toddlers because they can't read titles on spines yet. Here is our creation with contributions and help from grandmama:)
This idea was borrowed from Penny Carnival. I pretty much followed her steps, but discovered that I didn't have to double my fabric because it was heavy duty enough as is. So I ended up with extra fabric. This is not a problem because I will be making B a cute dress from it soon, that post to come later;) These are the supplies we used:
1. Piece of thick fabric 23 inches x 37 inches (You will need only 2/3 yard (note: you will need about 48 inches width for the 4 ft dowel, I used a 3 ft dowel)
2. Two 36 in wooden dowels, 5/8 in round
3. Two double curtain rod brackets. I could only find these at Lowes- $5 each (most expensive part of the project)
B has loved her book sling! We plan on making another for the playroom soon!
So here's one of our latest favorites. The Hanging Book Display. We love it because it can be put at toddler level and allows kids to see the front of books so they recognize them easier. This makes more sense as a book display for toddlers because they can't read titles on spines yet. Here is our creation with contributions and help from grandmama:)
This idea was borrowed from Penny Carnival. I pretty much followed her steps, but discovered that I didn't have to double my fabric because it was heavy duty enough as is. So I ended up with extra fabric. This is not a problem because I will be making B a cute dress from it soon, that post to come later;) These are the supplies we used:
1. Piece of thick fabric 23 inches x 37 inches (You will need only 2/3 yard (note: you will need about 48 inches width for the 4 ft dowel, I used a 3 ft dowel)
2. Two 36 in wooden dowels, 5/8 in round
3. Two double curtain rod brackets. I could only find these at Lowes- $5 each (most expensive part of the project)
B has loved her book sling! We plan on making another for the playroom soon!
Subscribe to:
Posts (Atom)